We have new photos from the skoolie build! We also have an update and a projected end date. Instead of January, we are probably looking at February. While that is a little disappointing, it all works out how it should. We will be in our skoolie before we know it!

If you are new here, we have been keeping updates since the beginning. I recommend starting at Part 1.
Skoolie Build Part 1: All the the crazy repairs our bus needed, skoolie demo, and the delays to get it to the builder.
Skoolie Build Part 2: The first part of the skoolie builder’s work
Skoolie Build: Electrical
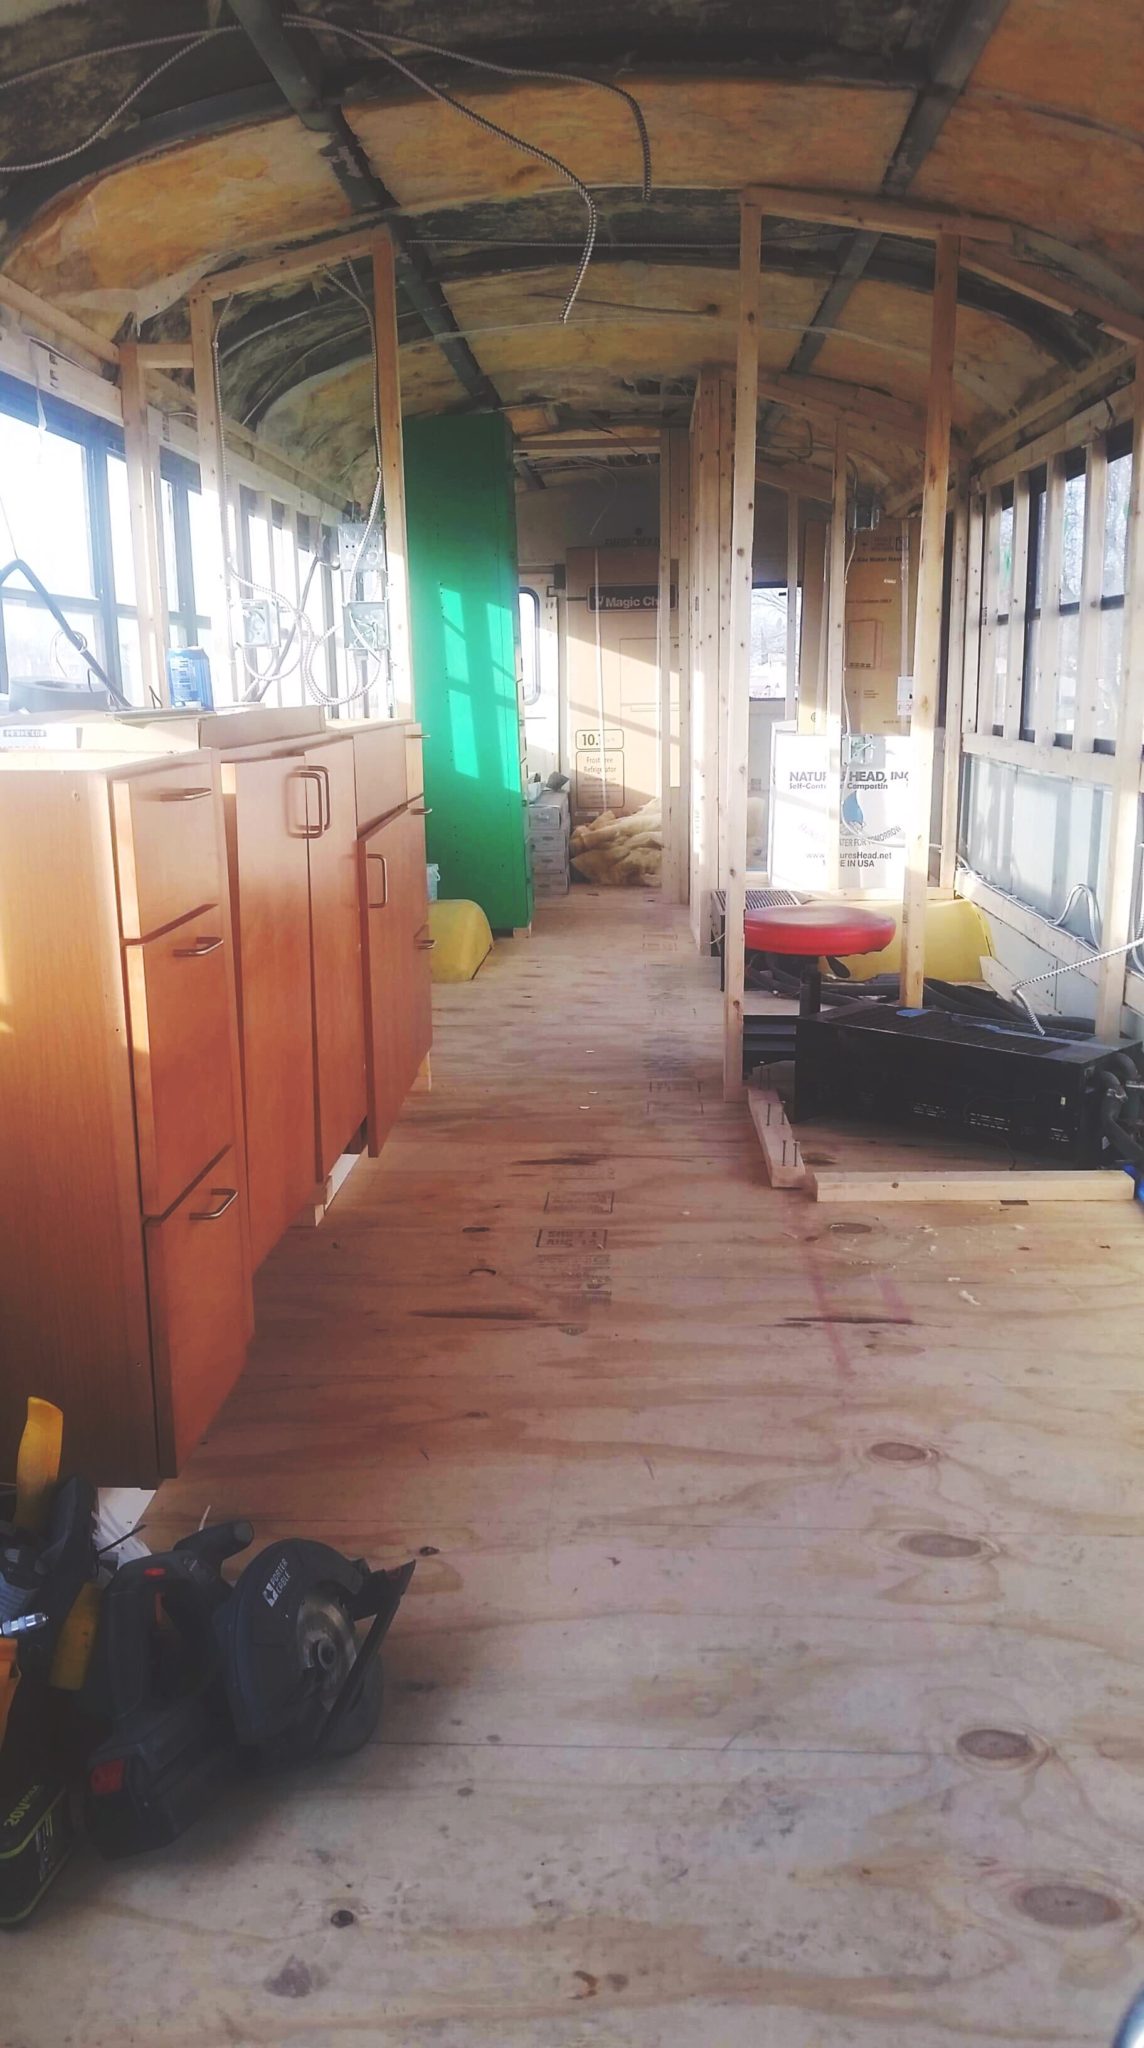
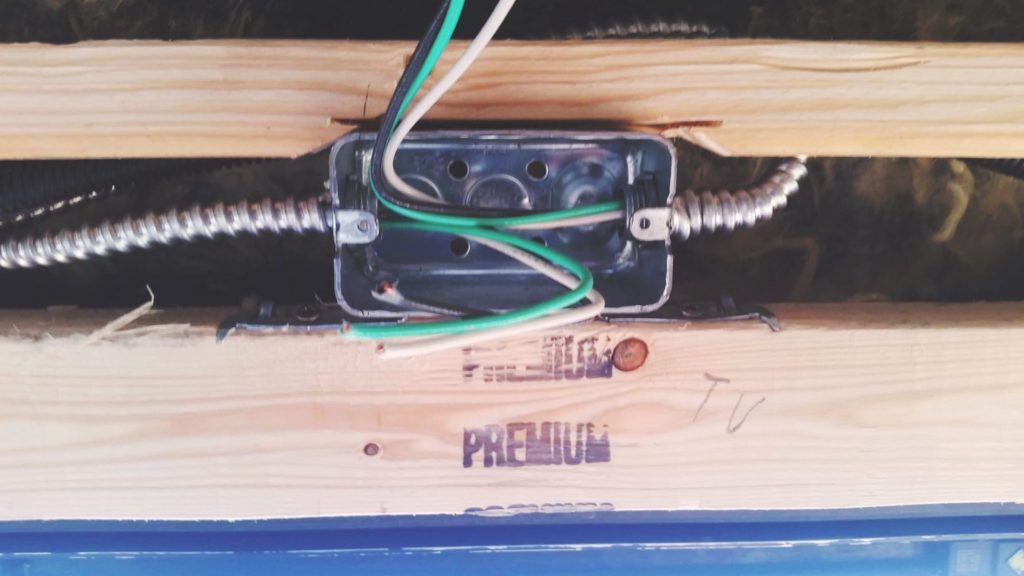
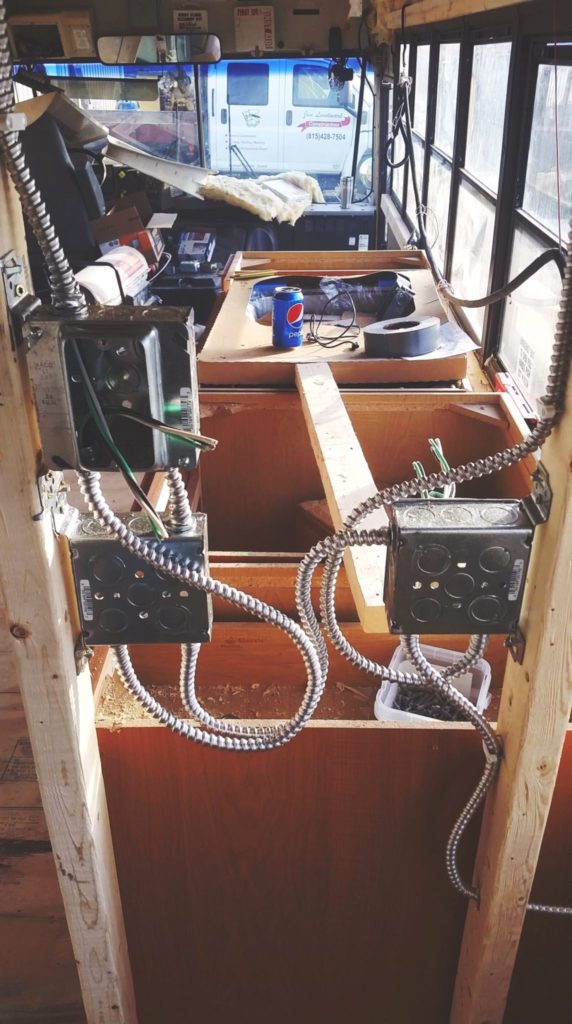
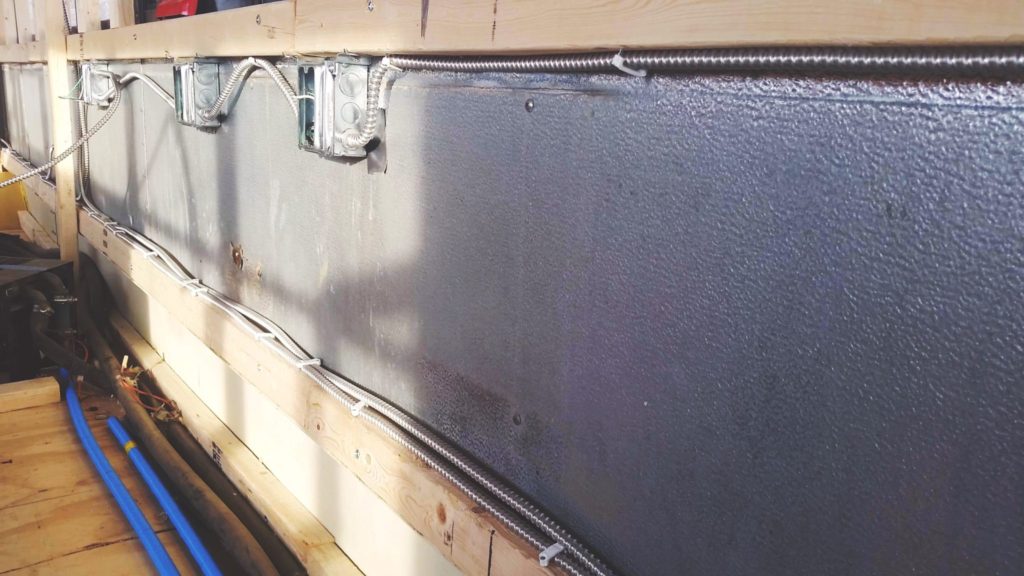
A lot of progress this past week. The builder is prepping to install the spray foam insulation. First, the electrical has to be ran before the insulation is installed. We decided to use BX armor cabling. This ensures that the wiring is protected and does not stuck directly to the insulation. This was an important factor we were looking for when we decided to go with spray foam insulation. Once the spray foam is installed adding more electrical runs will be more difficult.
We had the builder run a couple of extra circuits to where our future roof top air conditioning units will be located. That way when its time for the air conditioning installing I will already have the power ran and the wires coiled up in the ceiling ready to go. We will be handling this part of the build ourselves so it will be helpful to have that already in place.
As part of the electrical plan, we have planned out 120v lighting and outlets with select 12v outlets and lights for when we don’t have access to shore power. As part of our 12v lighting we are re-using the existing bus lighting fixtures, but replacing bulbs with LED bulbs which provides more light and is more efficient.
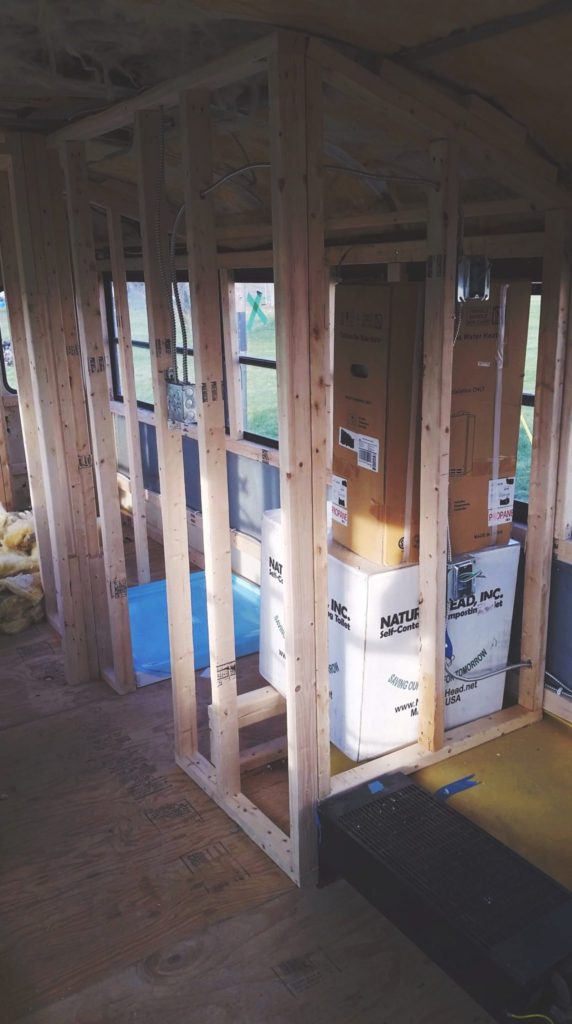
Another late addition to the 12v system is our Maxxair 5100k MaxxFan. This will be place in the ceiling right outside our bathroom. This will double as an exhaust fan for when the shower is used and when the bus is hot inside we can simply turn open some windows and turn on the fan to create enough airflow to cool off the bus quickly.
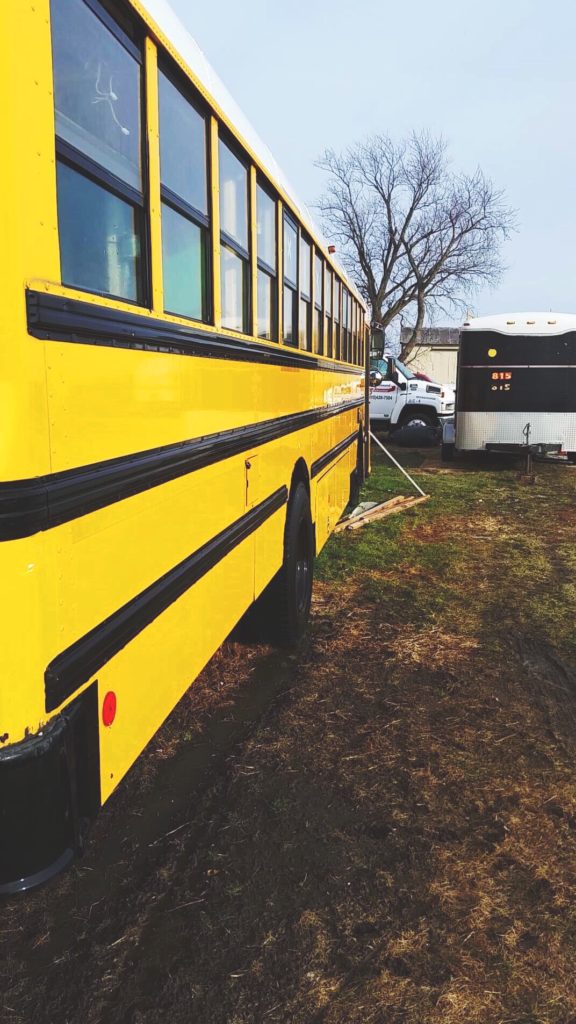
The other change was the exterior was power washed and all of the logos were removed. Judy is now ready to be painted! We will update again when we get new photos! Keep up to date with our day to day over at Instagram if you aren’t already following the journey.