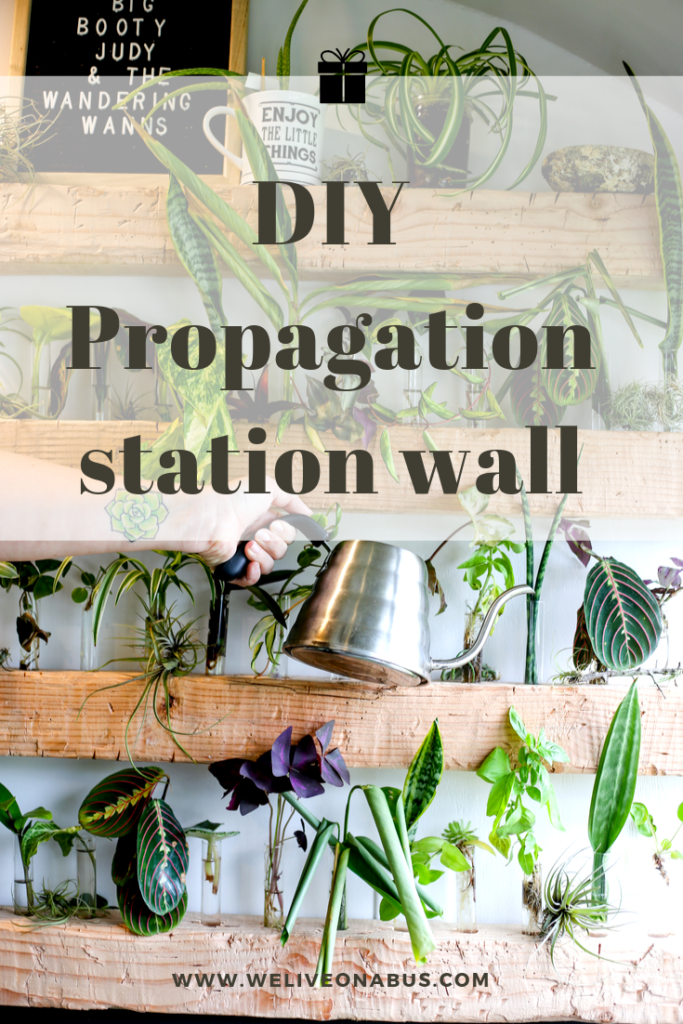
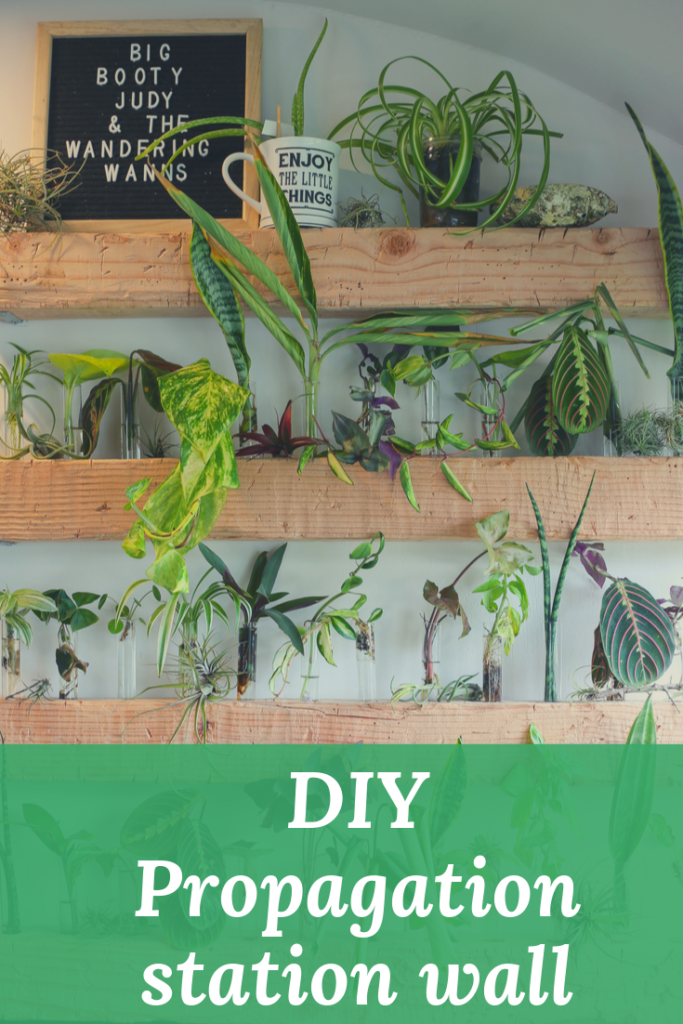
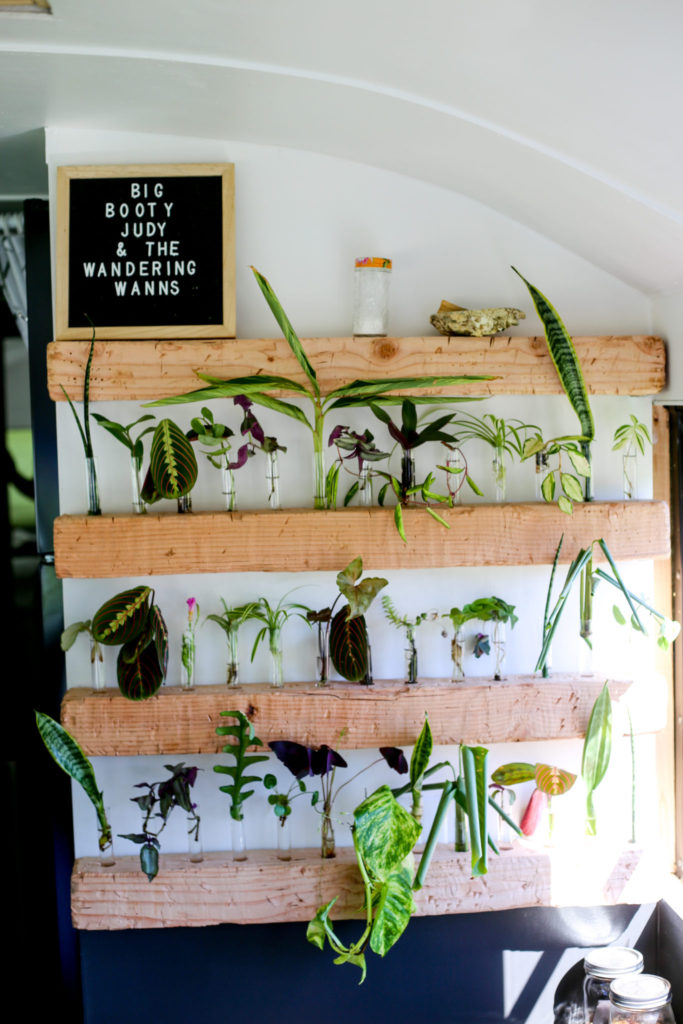
The propagation wall is my favorite part of my tiny home on wheels. I always said I was going to fit in as many plants as I could. I exceeded my own expectations though. I get to have up to 39 varieties of plants in this one section of my bus alone.
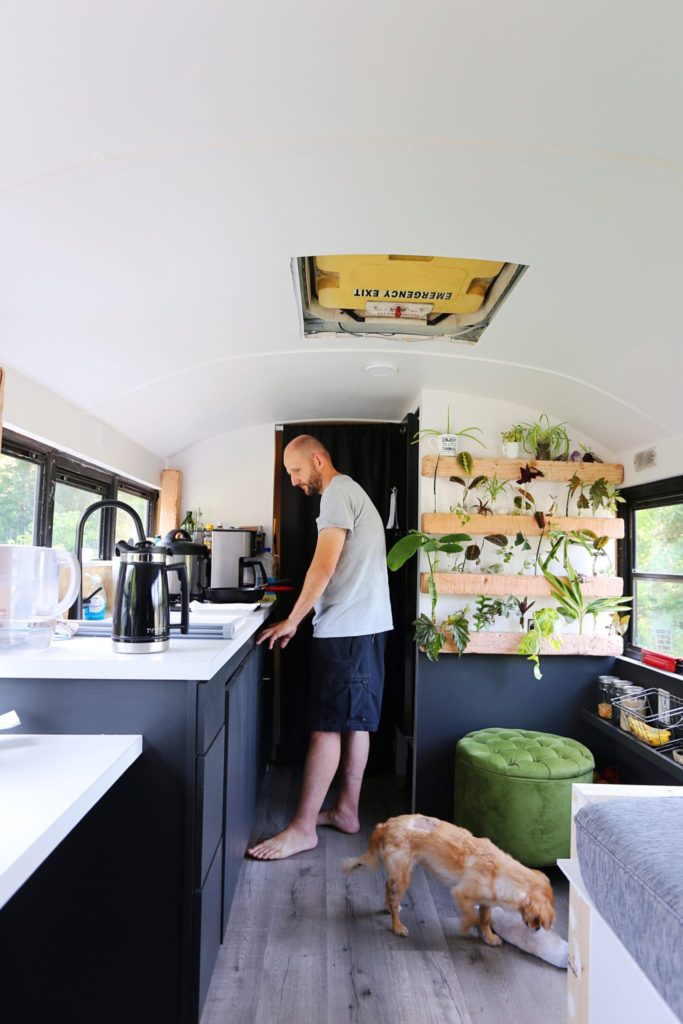
Our propagation wall is designed to move since our home travels down the road from town to town. We designed it in a ways that would be safe for us, safe for the plants, and safe for the rest of the home. One of the most important things for me was that I had a shelf that didn’t require having every item being packed away every time we moved. After hours on the road, we can confirm that these plants stay in place. The very top shelf is the only thing that needs to be stored during transit.
Why a Propagation Wall?
I originally wanted a living wall that was completely green in our skoolie. That would have required dirt. When I looked through all of the solutions, I just kept imagining us driving down the road with the windows down. How much dirt was going to fly out of the wall and into the rest of the skoolie? It makes me cringe just thinking about it! Water propagation seemed like the only solution. After talking with Hickory Lane Plants in Springfield, Missouri, she mentioned that a water propagation wall would also require a lot less light. I was sold! Since our home is on wheels, we can’t always guarantee that window will get a lot of light. However, if it is getting too much, I can always put up a curtain and block it out. Plants that required less light was a win!
How to Build a Propagation Wall
Materials & Tools
(2) 4×4 Douglas Fir Posts (cut to length of wall)
L Brackets
Why did we use Douglas Fir?
We wanted to use wood that hadn’t been treated and we wanted something affordable. It also needed to be somewhat lightweight since we always need to take weight into consideration in a home that is on wheels. The decision was as simple as looking for a piece of wood that was close to the color I wanted, the size I needed, and the price that said ‘buy me’. The Douglas fir posts were $11 each and the lightest of all the wooden beams that were available to us.
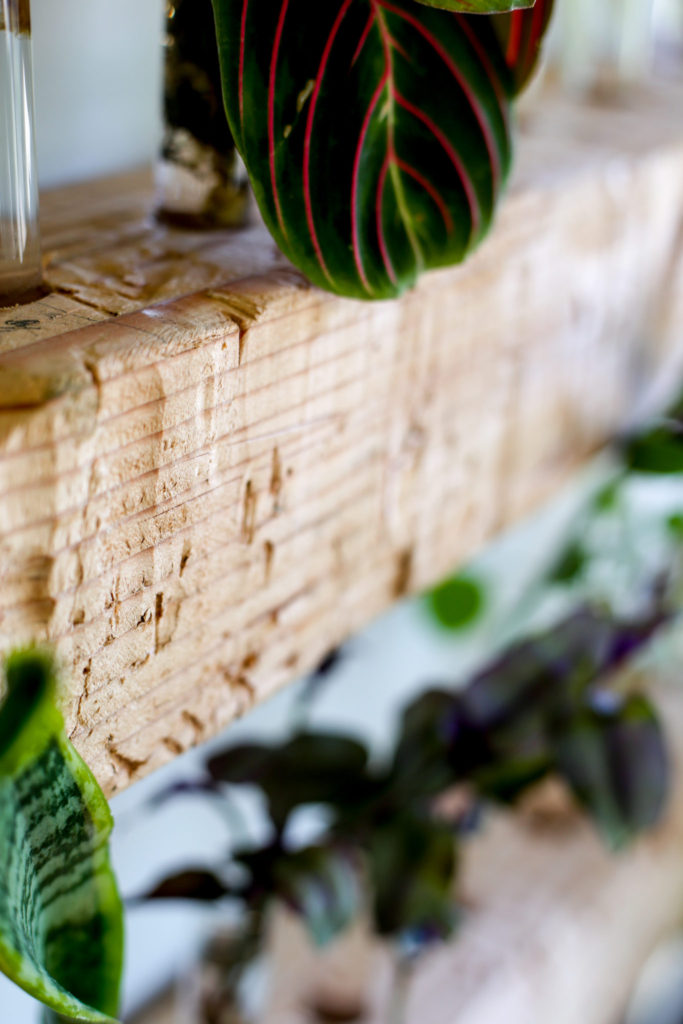
How We Aged the Wood for the Wall
I looked up a lot of tutorials, but most of what I used came from this tutorial on how to age wood. The process made the most sense to me. I recommend checking it out, but you can also keep reading to see how I used each tool to get the look I wanted. These are listed in the order I used them.
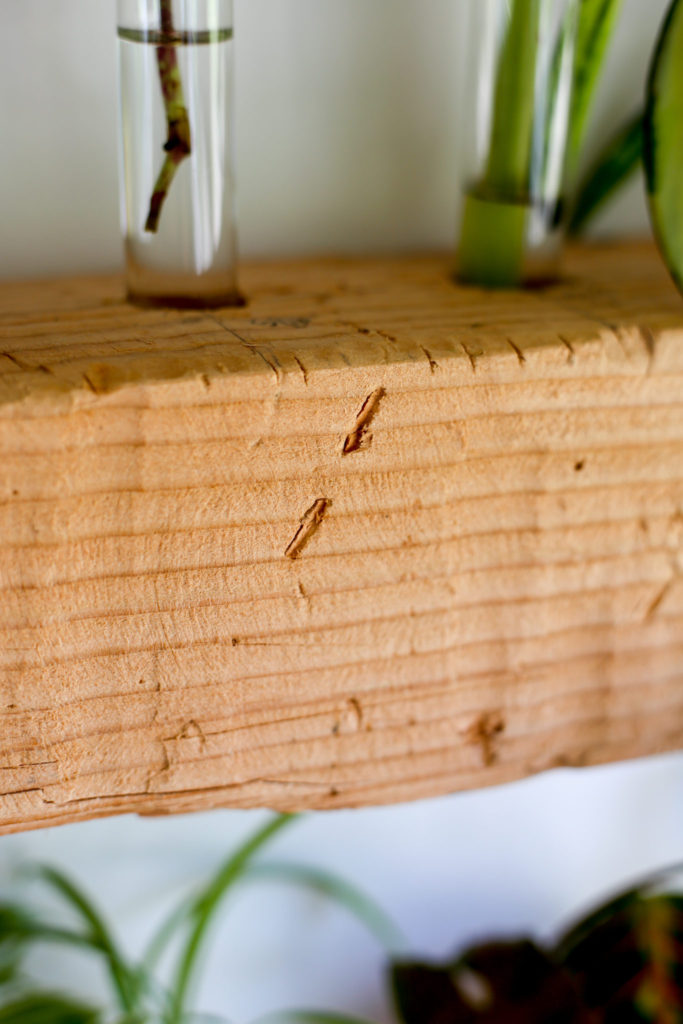
Hand Planer- We ran the hand planer over each post in random motions. Instead of gliding it straight across the post, which would smooth it, we dug down and scooped up. The goal was to make the wood look hand-hewn.
I used this same motion along the edges of the post in a couple of areas. This was one method I used to smooth down the edges and make the posts look worn down. I used other tools to smooth the edges so it was less uniform. Keep reading to find out what I used!
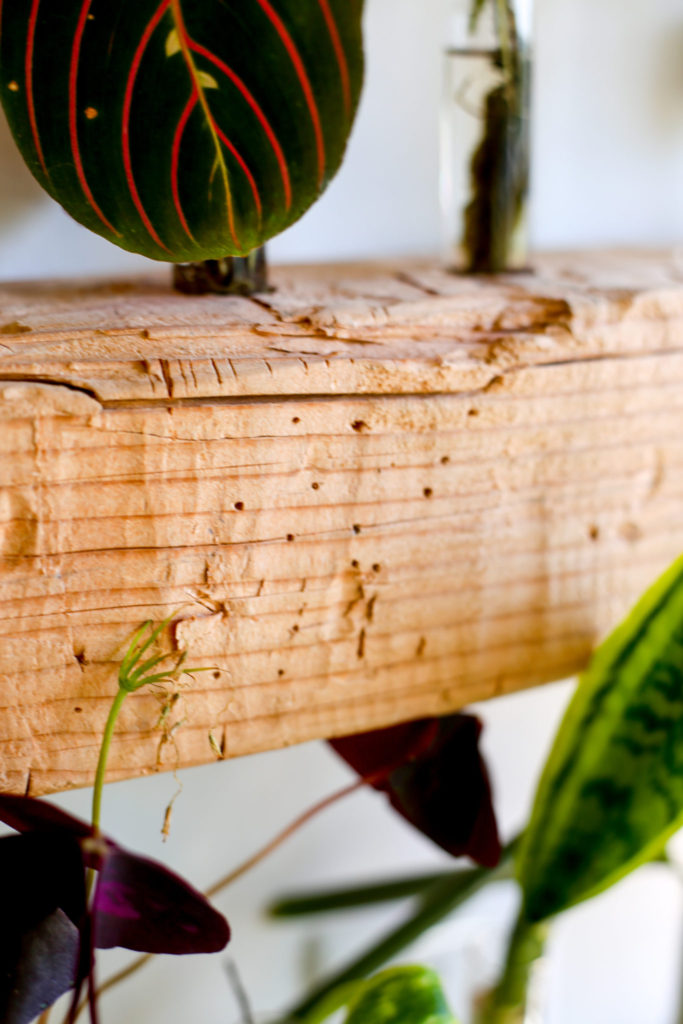
Drill + 1/16″ Drill Bit– This was my favorite part. I used the drill to create random patches of worm holes throughout the posts.
Axe- I went in to each end of the posts and made a series of shallow chop marks that I later hit with the angle grinder. I wanted to make sure they didn’t look new.
I went in and randomly added deeper marks with the axe on the edges to make it look like the wood split.
I added a number of small chop marks along the edges in random groups together. I really liked how it looked. I hit some of these places with the angle grinder to take the ‘new-ness’ out of them and wear down the area more.
I drug the tip of the blade along the length of the wood to create “cracks”
Hammer + Chisel– I used them together to make areas in the wood where it looked like it split.
The chisel created a different kind of crack in the edges, adding more variety than just the axe marks.
I used the claw side of the hammer to beat up the wood, but I didn’t love how it looked.
I used the hammer to beat the wood and beat down the corners of each post and smooth out the harsh angles.
Angle Grinder + Wire Brush– This is the final step for aging the wood. It really brings out the wood grain and takes all of the top layer off. Don’t skip this step. It took the posts from looking okay to something I was proud of.
I kept the angle grinder at a low speed so it wouldn’t create circles in the wood.
I held it on the already tattered ends a lot longer than the rest of the wood. I wanted to really age the ends.
I used to to grind into the edges in random places to remove more of the harsh angles and add more aging.
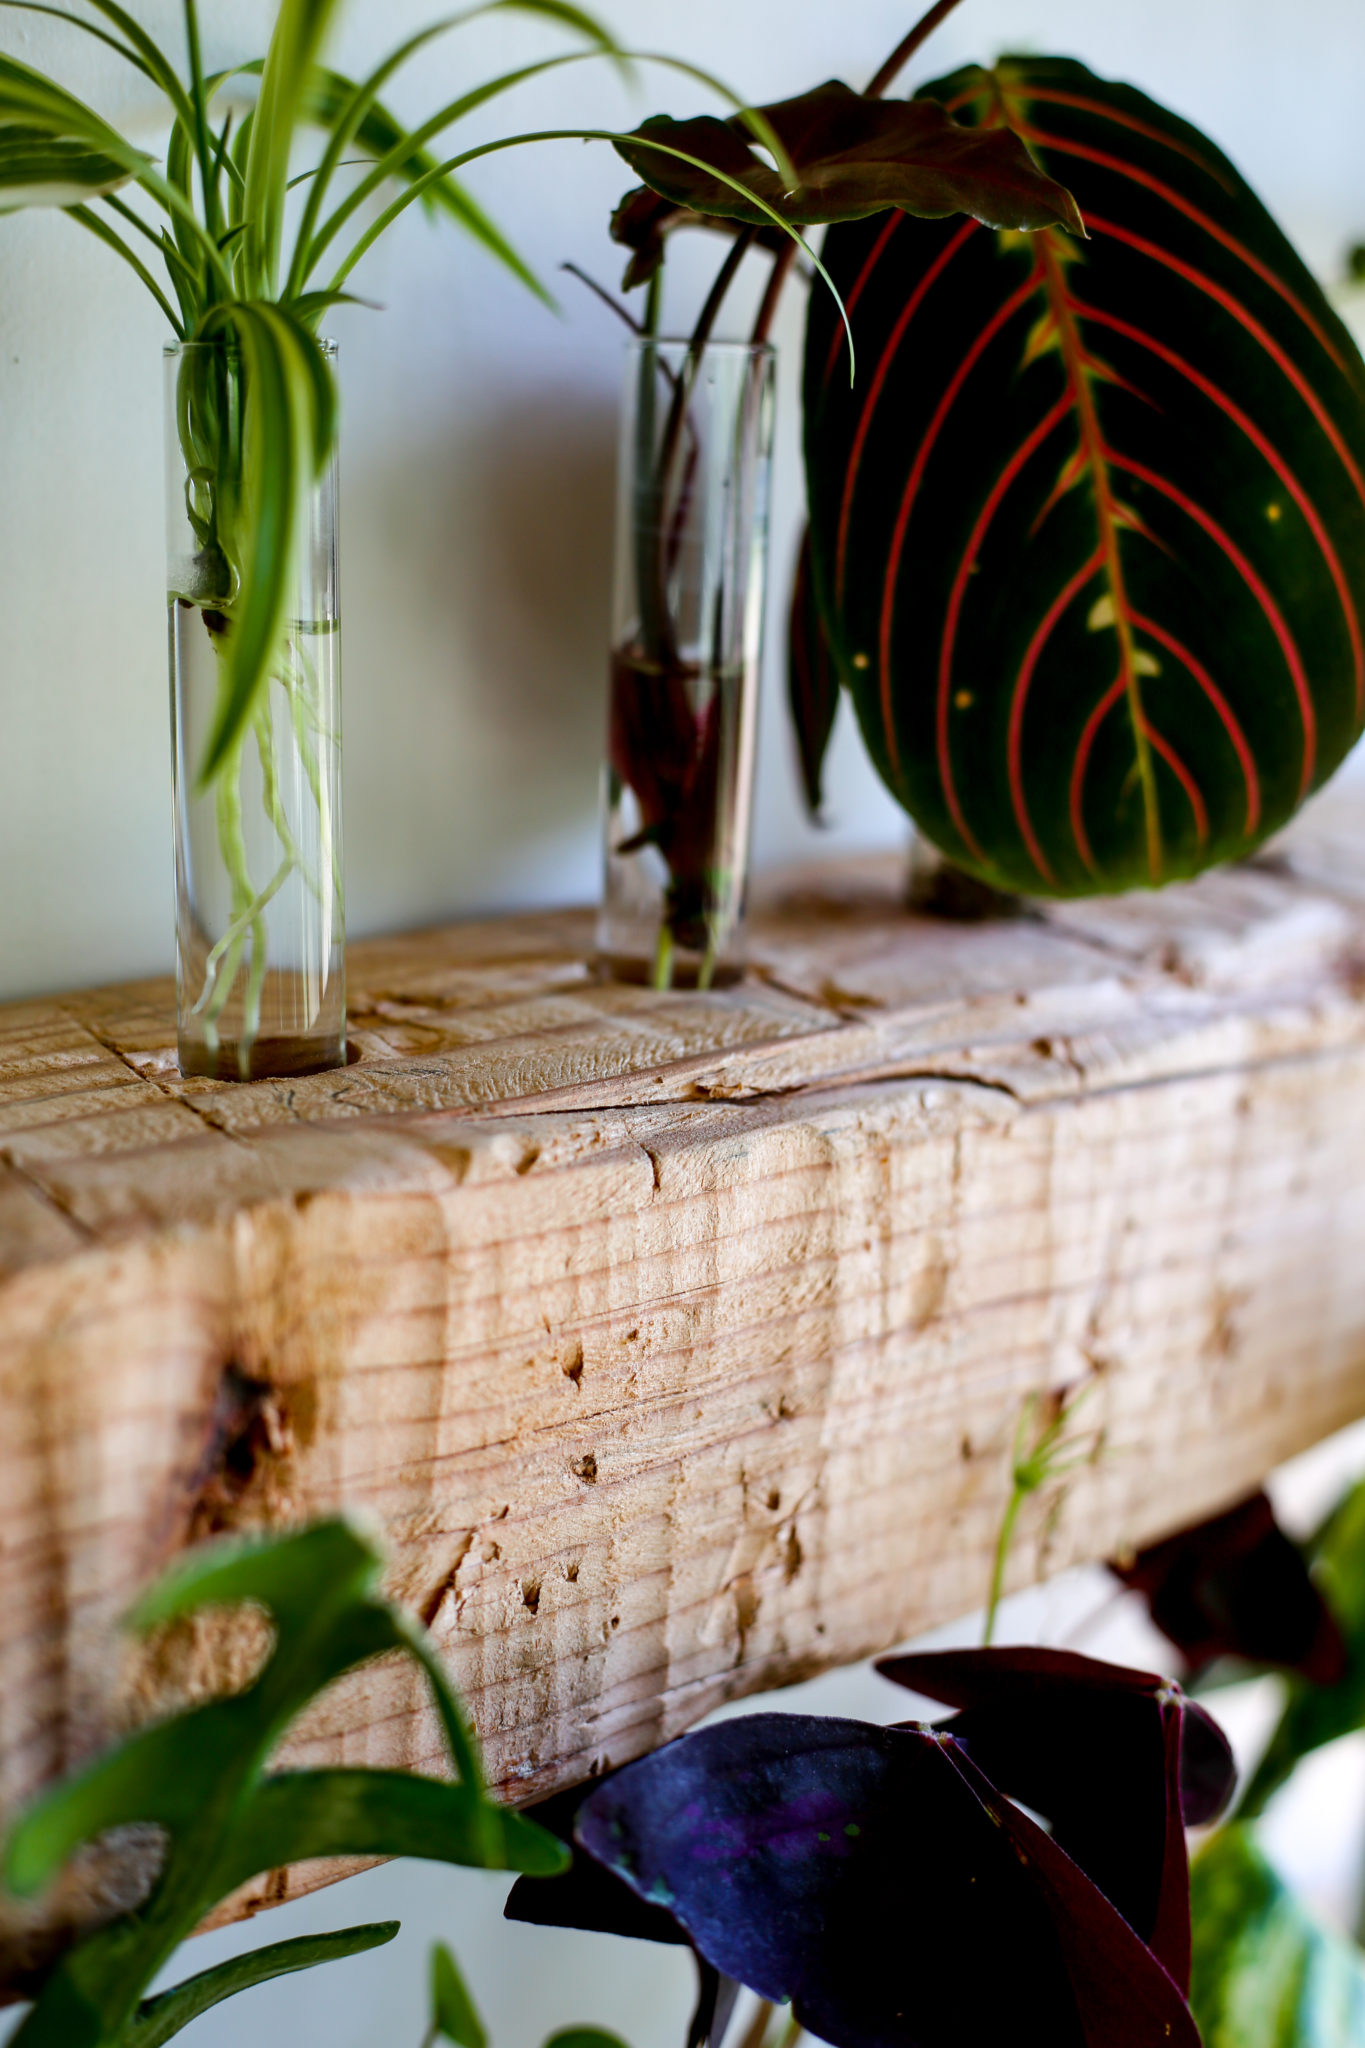
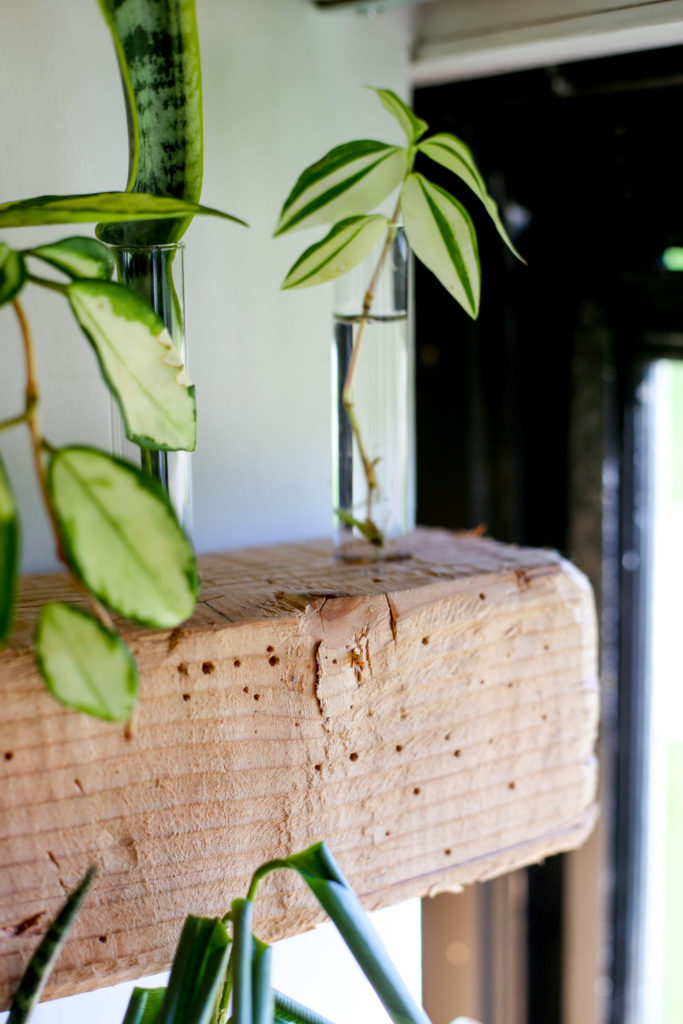
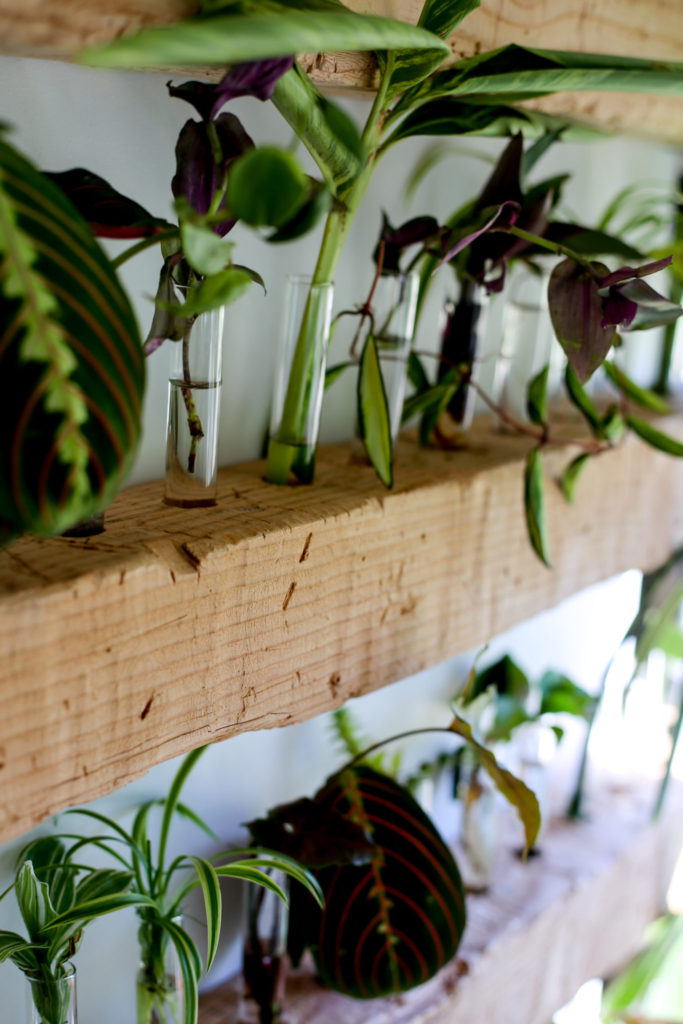
Drilling the Holes for the Test Tubes
We used a drill press in order to line the holes up down the center of the wood. I spaced the holes each 2.5″ apart and we drilled down 2.5″ into the wood. Our drill press only drills 2″ deep so it did require a little math and measuring/drilling at lease twice for each hole.
If you aren’t putting this in a home on wheels, 2″ would suffice. We really wanted to ensure our test tubes didn’t pop out of the holes when we hit big bumps. They have 8 hours of travel time under their belt and one wicked set of railroad tracks. Everything stayed on the wall!
Hanging the Propagation Wall
We used L brackets like these to hang the posts. We knew we would never want to put anything extra heavy on the shelves. The brackets work out great for our needs.
What Finish Did We Use on Our Propagation Wall
We didn’t. When I finished aging the wood, I really liked the color. I looked at a variety of staining options; including natural options like tea and different colors of traditional stain. I considered sealing it with beeswax as well. The problem is that all of these things would change the color and I was sold on the natural shade of the Douglas fir.
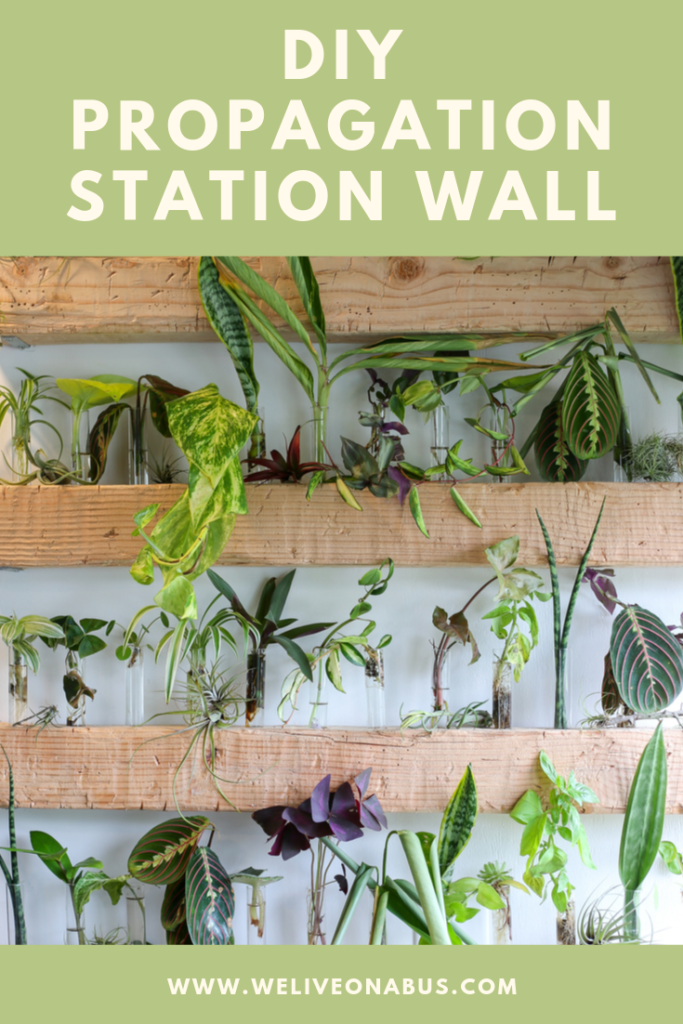
Choosing Plants for the Propagation Wall
Hickory Lane Plants in Springfield, Missouri donated all of the plants to our propagation wall. She selected a variety of clippings that she thought might endure our ever changing light and temperature changes. We are two weeks in and so far every plant has loved living in the bus except the begonia. He got a little too much light one day and didn’t make it.
What Will we do With the Plants When They Root?
We don’t know yet! We may do a clipping exchange at the next tiny fest we attend or we might sell the rooted plants at one of the shows. We have considered gifting them to people along the way and replacing them with plants from the people we meet. Maybe we will do all of the above!
Let us know if you have any questions about creating a propagation wall! If you decide to create one, tag us on Instagram so we can see it! If you are new here, you can read this post to find out why we live on a school bus!
