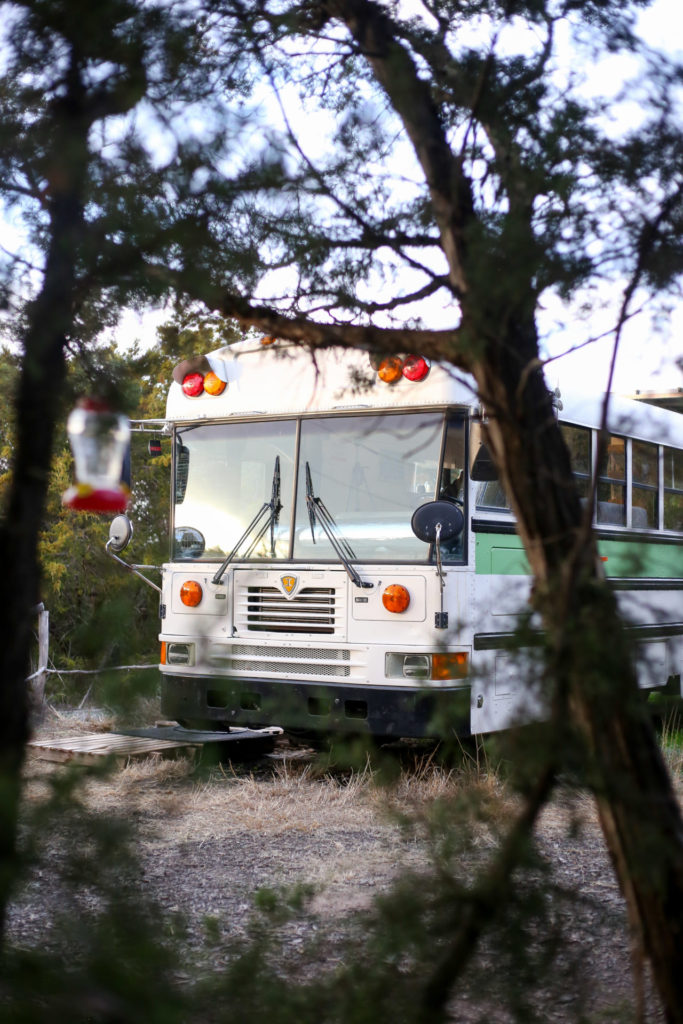
The mornings have been cooler here in Oregon. Not cool enough to push us into warmer climates, but I can feel it coming. The freedom to move our skoolie conversion with the weather was one of the things we most looked forward to when we were planning to live this life. As someone who doesn’t love cold weather that is a huge bonus.
We haven’t always been able to move with the weather though. It snowed during our first couple of nights on the bus which left us scrambling for heat sources. Later, when we found ourselves parked on a mountain in Arkansas, the temperatures were 10 degrees cooler than the surrounding area. I’m sure it wasn’t true, but when I think back on the time we spent there, I just remember wind that never stopped blowing.
 After that, we spent 7 months in Texas. During the time we were stationary, we learned how to regulate the temperature in the bus better. Keep in mind, the temperature ranged from 20-50 during our winter there. So these tips might not cover everything you need to make it through a northern winter in your bus.
One more thing before we get to the list of tips. I need you to know that regulating the temperature in a skoolie conversion (at least ours) isn’t like what you are used to in your home. It is a game we play from the moment we wake up until the moment we go to bed. There is a rhythm to keeping the temperature just right and now it is just part of our routine. It can be frustrating in the beginning though.
This is a little look into how we are able to keep warm in a skoolie conversion when we are sitting still and in cold weather.
Tip 1: The Insulation
Our skoolie conversion is very well insulated. Even with great insulation, we live in a metal can and the temperatures fluctuate much more so than in a regular home. I can’t even imagine what it would be like in here without it. Check out this blog post to find out more about how our bus is insulated.
Tip 2: The Heaters
 We started bus life without any heaters because we were going to chase warm weather. We spent the first 2 nights in snow which forced us into solving that problem fast. It took a little longer to figure out the best solutions for us though.
We currently have two heat sources; a diesel heater and a Buddy heater. The diesel heater is, by far, our favorite heat source for the bus. We will be installing a second one the next time we are in renovation mode. The Buddy heater was our first heat source and we kept it as a back up. It is great for knocking the chill out of the air, but it creates a lot of condensation which can lead to mold. The diesel heater provides a dryer heat.
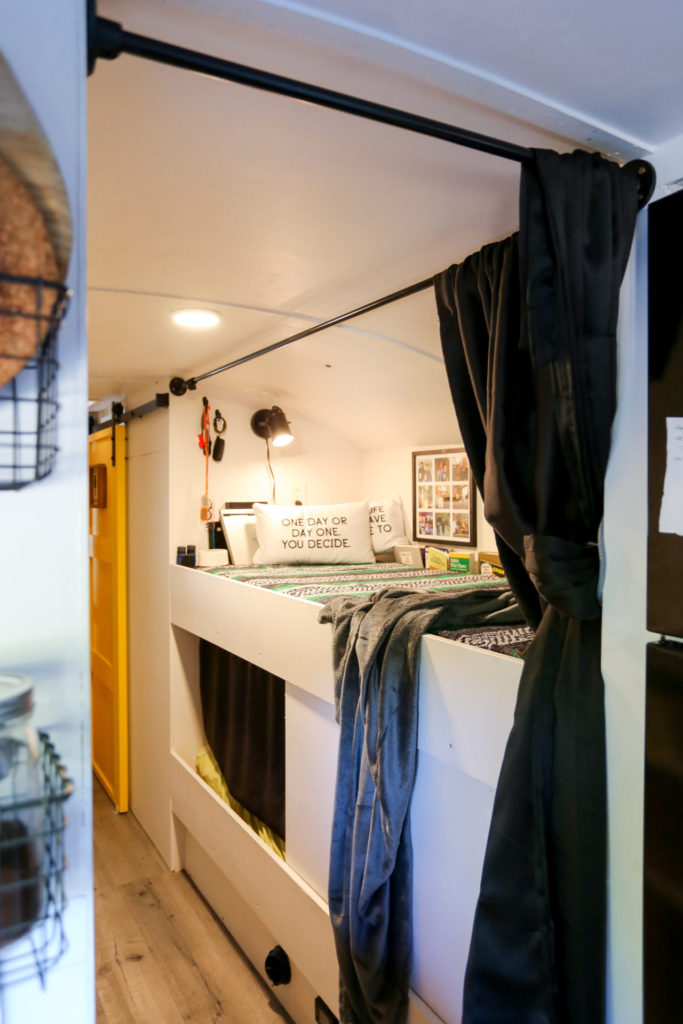
The diesel heater is installed under our boys’ bunk beds, making their space the toastiest spot on the bus. Keep reading to find out why their space is also the most temperature controlled, no matter what climate we are in.
See the small black circle at the bottom of the bunk beds? That is where the heat comes out. The vent turns so we can point it toward our room which is just past the yellow door in this photo.
Most diesel heaters run around $1000. Ours was $100 and it is amazing. You can find it here. The diesel heater is key component to us staying warm in our skoolie conversion during the winter.
Tip 3: The Window Coverings
 Reflectix
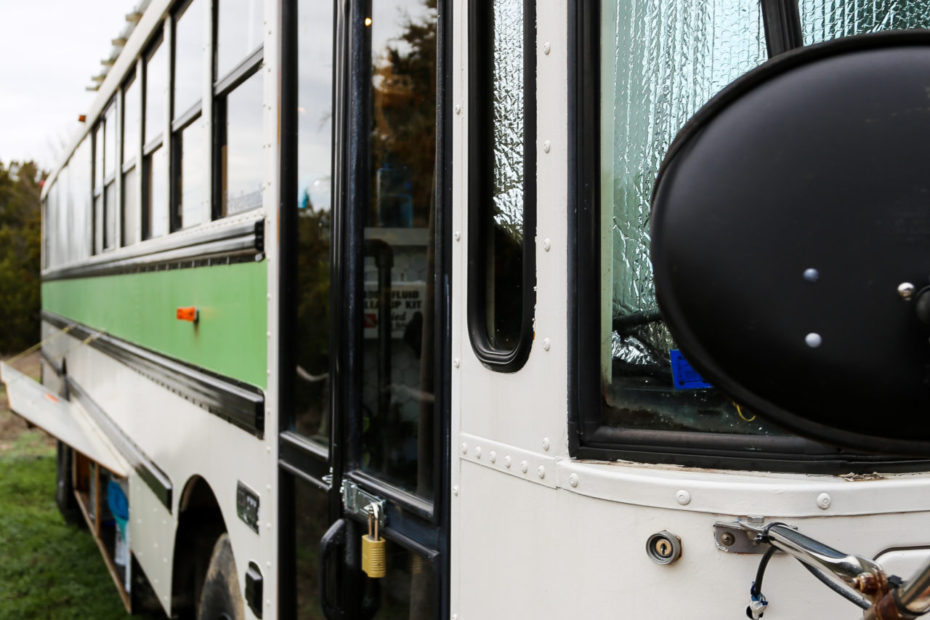
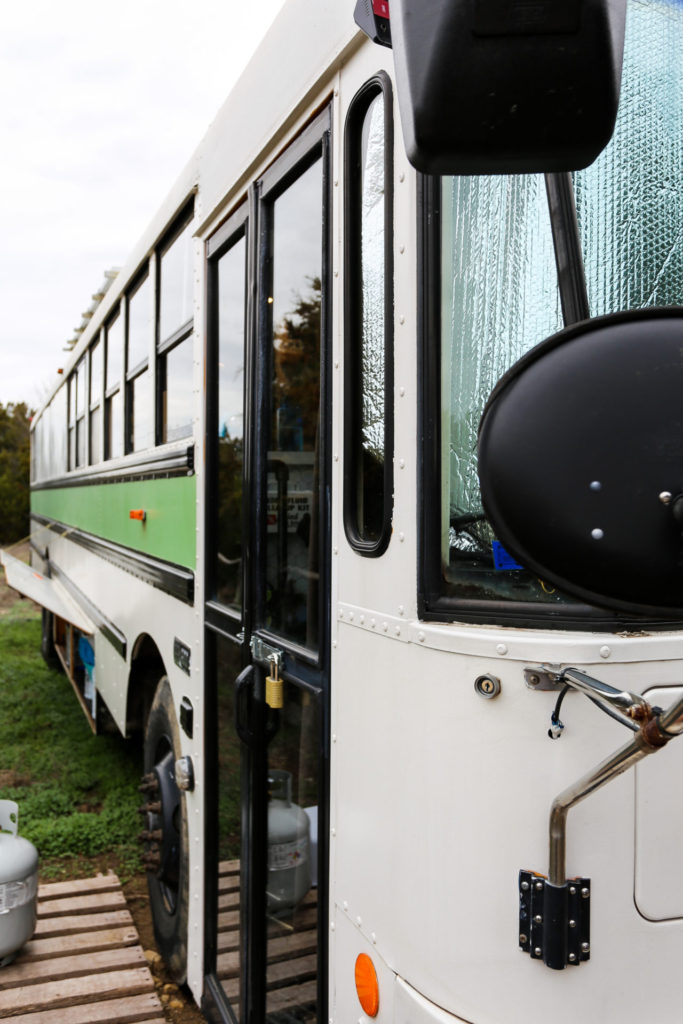
During our time in Texas, our windows were covered with Reflectix most of the time. I saw other skoolie conversions using this product and I hoped that we would never need to line our windows with it and block the view of the surrounding scenery. After seeing how much difference it makes, I stopped thinking about how ugly it looked.
Cellular Shades
It took us over a year to finally pull the trigger and install cellular shades in our skoolie conversion. While there are a lot of benefits to these shades, the honeycomb design actually traps heat and helps regulate the temperature inside. We have two different brands in the bus and we can’t tell that one is superior to the other. After spending so much time researching, I can tell you to look for sales. Search for cellular shades, sign up for the mailing list for each company that pops up, and wait. We cut our cost in half by waiting until there was a great deal.
Thermal Curtains
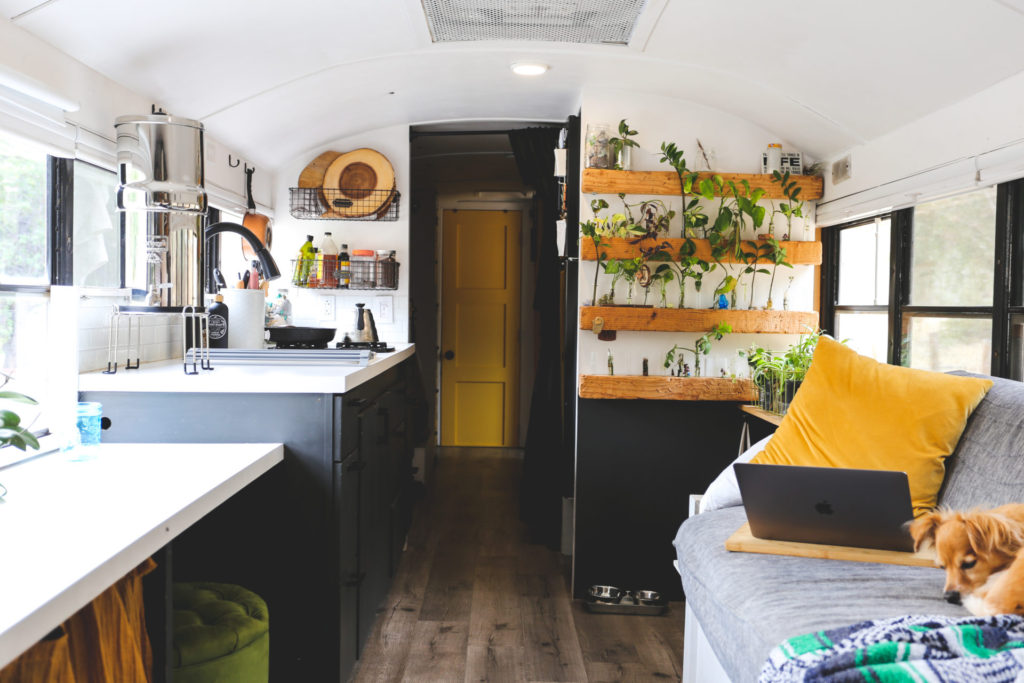
There is a black thermal curtain that hangs between our living area and the bunk room. Closing this curtain at night is one of the easiest ways to ensure we stay warm while the temperature drops at night. I’m always surprised when I open it in the morning and I step into the living area to be faced with a 10° temperature drop. This is perfect for those evenings when it isn’t warm enough to turn the heat on before we go to sleep, since it buys us a little more time before we have to get up and turn it on. We have a similar curtain on front door and it keeps out a lot of drafts. The only difference is that we sewed a white curtain and black curtain together. The white curtain faces the door in the summer to reflect heat. During the winter, we can turn it around so the black side can absorb heat.
TIP: During the day, we close the curtain to the bunk room and only regulate the temperature at the front of the bus. Since we aren’t using that space, there is no need to worry about it until evening.

Insulate Over Windows
Remember how I said that the boys’ space is the most temperature controlled? This is because their space doesn’t have any windows. They have been insulated over, covered with sheet metal on the exterior, and covered with plywood inside. The more windows you cover, the better the temperature control will be. We left many of the original windows in our skoolie conversion. Unfortunately, they are single pane and drafty. This is why our room, which is nothing but windows, is the coldest spot in the bus during the winter! The good news is that even if Chris and I get cold, we know the boys are comfortable. The heat goes on long before they notice any major temperature changes.
 Creature Comforts
Unnecessary items that just ensure we are as warm as possible in our skoolie conversion. You don’t need them, but you are sure happy when you have them.
Electric Blankets: Our electric blanket stopped working halfway through winter. The fact that this item is at the top of my Christmas wishlist says it all. Total game changer!
Rugs: Skoolie conversion floors are cold. The end. Rugs are going to change your life.
Fans to push Hot Air: Our fans are key factors in regulating the temperature in this bus no matter what the weather is like outside. We use them to ensure our AC and heat source is reaching all parts of the bus.
Dress in Layers: Our fall/winter PJs are also our hiking clothes. During our tent camping adventure in Colorado, we put a lot of money into making sure everyone had the right layers. Check out this video on how to dress for hiking to learn how to properly layer your clothes for warmth. Honestly, it is overkill, but some of us like to be toastier than others!
Make sure to follow us on Instagram to get the latest updates and news! Comment below if you have any questions!
